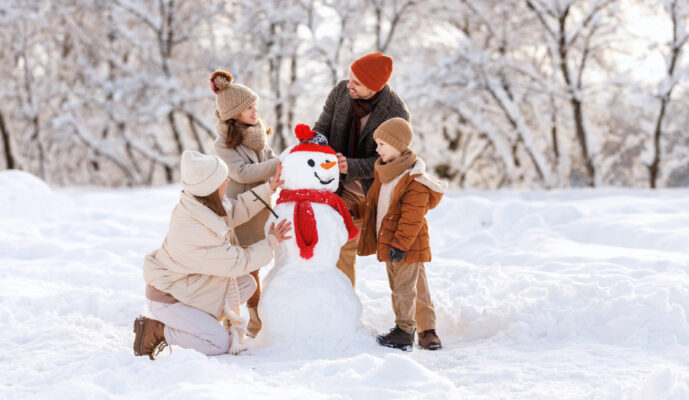
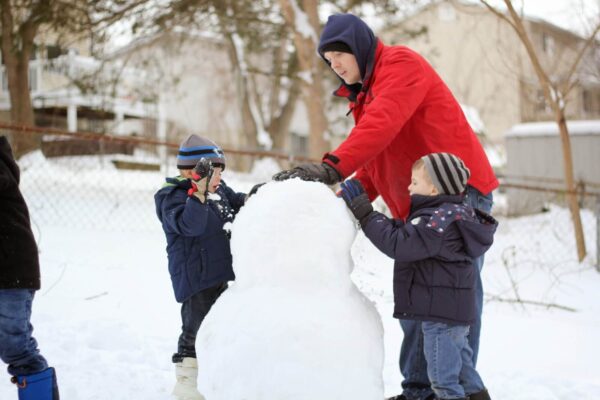
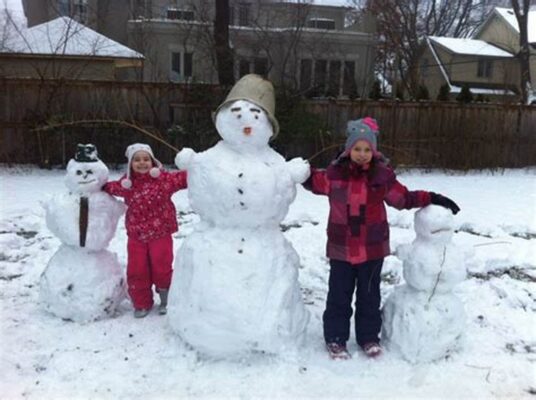
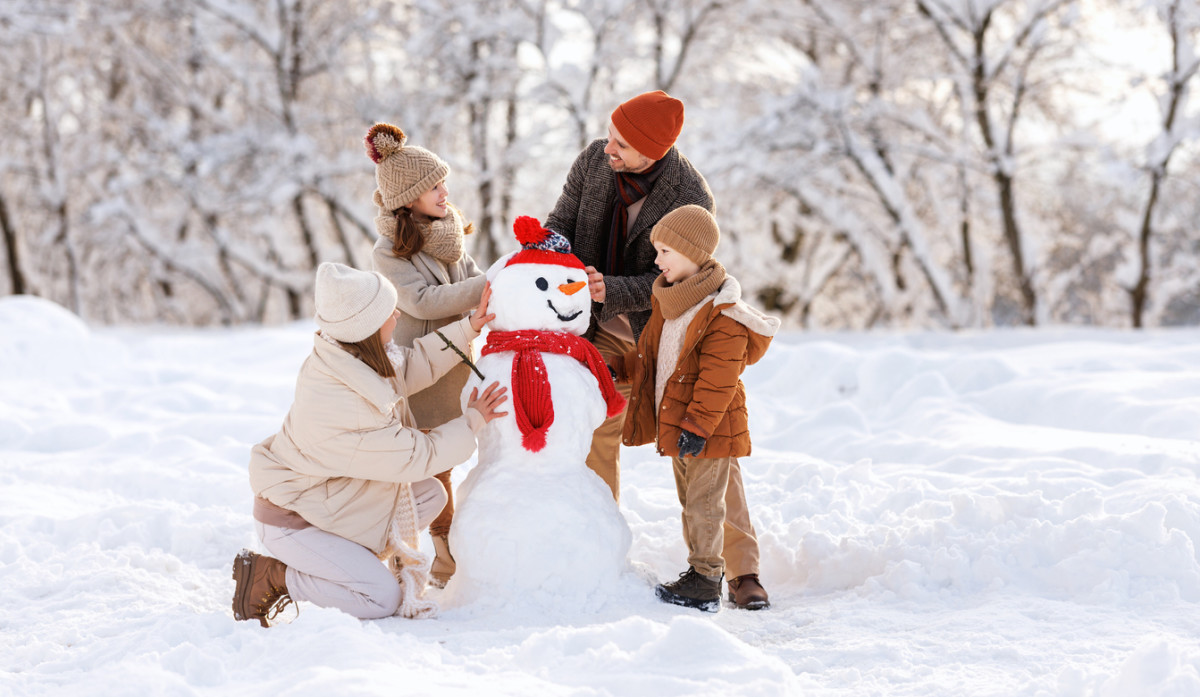
Winter is upon us, and with it comes one of the most delightful traditions associated with the season: building a snowman. You may be asking yourself, “How to Build a Snowman Like a Pro?” This article will guide you through the steps, techniques, and creative ideas that will take your snowman from simple to spectacular. Whether you’re a seasoned veteran or a newcomer to this snowy art form, you’ll find tips and tricks that will elevate your snowman-building game.

Choosing the Right Snow
The foundation of a great snowman lies in the snow itself. Not all snow is created equal, and understanding the different types can make all the difference in your snowman-building experience.
Understanding Snow Types
Snow can vary greatly depending on temperature, humidity, and atmospheric conditions. Generally, there are two main types of snow: powdery and wet.
Powdery snow is light and fluffy, which makes it difficult to pack tightly. While it’s fun for skiing and snowboarding, it won’t hold together well for a snowman. Conversely, wet snow, often seen after a warm snowfall, contains more moisture and is ideal for building. It clumps together easily, making it easier to form your snowballs.
To create the perfect snowman, aim for days when temperatures hover around freezing. This condition tends to produce the best packing snow. If the snow is too dry, try adding a little water using a spray bottle to help with the bonding process.
Assessing Snow Conditions
Before you start rolling snowballs, take a moment to assess your surroundings.
Look for areas with ample snow coverage. Avoid spots where snow has been trampled or melted away, as these patches will offer less material to work with. If you can find a gently sloping area, it may add an interesting dimension to your snowman—think about whether you’d like to build on flat ground or up a hill.
Pay attention to the sun’s position, as direct sunlight can quickly melt certain areas. Finding a shaded spot will prolong your snowman’s lifespan and prevent the need for constant repairs.
Preparing the Area
Once you’ve selected the right type of snow and assessed the conditions, it’s time to prepare your area for snowman construction.
Clear any debris such as sticks, stones, or remnants of summer vegetation. A clean surface will allow you to roll your snowballs smoothly without interruptions. If possible, mark out a circular area where you want to build—this will help you visualize the size and shape of your snowman.
Consider how your snowman will fit into the overall landscape. Do you want it visible from your living room window? Or maybe you’d prefer to tuck it among some trees for a whimsical touch? Deciding on the placement ahead of time will help you frame your masterpiece beautifully once it’s completed.
Building the Structure
With your snowballs ready and the area prepared, it’s time to get to the fun part—building!

Forming the Base
The base of your snowman should be the largest snowball, as it provides stability. Start by gathering loose snow and compacting it between your hands to form a small ball. Once you have a solid core, place it on the ground and begin rolling it. As you roll, the snow will stick to itself, causing the ball to grow larger.
Generally, aim for a base that is at least two feet wide. If your snow is wet enough, you can achieve impressive size with minimal effort. The key here is to ensure the ball is evenly shaped; if it’s lopsided, your snowman may topple over.
Adding Midsection and Head
After you’ve successfully formed the base, it’s time to add the midsection and head.
For the midsection, follow the same technique as the base but use slightly less snow. This snowball should be proportionally smaller than the base, ideally around three-quarters of its size. Roll it until it reaches the desired circumference, then lift it onto the base carefully. If needed, smooth out the edges where it meets the base to ensure a tight fit.
Creating the head involves the same principles. However, this time the ball should be even smaller—about half the size of the midsection. Use your hands to sculpt it before placing it atop the midsection. Take care when lifting to avoid damaging the structure.
Smoothing and Shaping
Once your snowman is stacked, take a moment to smooth out the surfaces. Use your hands to pack down any loose snow, which will improve stability, and give your snowman a polished appearance.
Consider using a shovel or a small plastic scoop to carve details and define shapes. For example, create a neck where the head meets the midsection, giving it a more defined appearance. Alternatively, you could form a rounded top for the head, mimicking a classic snowman look.
Finally, step back and observe your snowman from various angles. This will help you identify any imperfections that might need adjusting before you move on to decorating.
Decorating Your Snowman
Now that the structure is complete, it’s time to bring your snowman to life with decorations and personality.

Choosing Facial Features
The face is arguably the most critical aspect of your snowman’s character. Traditional items include coal or pebbles for the eyes, a carrot for the nose, and a wide smile made from twigs or small stones.
When selecting these items, think about the aesthetic you want your snowman to convey. You can choose natural materials for a rustic look or colorful ornaments for a more festive appearance.
Be sure to press the facial features securely into the snow so they don’t fall off easily. If you’re using a carrot, dig a small hole first to help anchor it in place.
Outfitting Your Snowman
Clothing and accessories can add charm and uniqueness to your creation. Scarves, hats, and gloves can make your snowman look friendly and inviting.
Think creatively! A colorful scarf can add a pop of color against the white backdrop of the snow. For hats, consider using pots, bowls, or even old winter hats to crown your creation. Adding mittens can also enhance the whimsy factor.
If you have children helping you build the snowman, involve them in choosing the outfit. This collaborative effort not only fosters creativity but also creates lasting memories.
Final Touches and Personalization
Once your snowman is dressed, take a moment to personalize it. Consider adding unique elements that reflect your personality or interests.
Want a themed snowman? Create a chef by adding a spoon and a small apron! Or perhaps a sports fan with your favorite team’s colors. The possibilities are endless and only limited by your imagination.
Also, consider the environment surrounding your snowman. A few strategically placed snowflakes (or glitter!) can sparkle under the sunlight and draw more attention to your creation.
FAQs
What type of snow is best for building a snowman?
Wet, sticky snow is ideal for building a snowman because it holds together well and packs easily. If the snow is dry, consider lightly misting it with water to help it clump better.
How do I make my snowman last longer?
To make your snowman last longer, avoid direct sunlight and create a shaded area. Additionally, consider using a mixture of packed snow and water that you can spray onto the snowman to create an icy crust, reinforcing its structure.
Can I build a snowman without a lot of snow?
While it may be challenging, you can still construct a small snowman using whatever snow is available. Pack it tightly, and use smaller objects to represent the body, such as snowballs or even ice.
Is there a specific way to keep the snowman balanced?
Ensuring that each section of your snowman is tightly packed and well-balanced is crucial. Look for symmetry while stacking and make sure each layer is progressively smaller than the last. A wider base will offer more stability.
How can I decorate my snowman creatively?
Get imaginative with household items! Use buttons, toys, or colorful fabric scraps. Seasonal items like ornaments can add flair, or you may even want to theme it according to holidays or events.
Conclusion
Building a snowman is more than just piling up snow; it’s an art form that invites creativity and joy. By focusing on the right snow, structuring effectively, and letting your imagination run wild during decoration, you can truly learn how to build a snowman like a pro.
Remember to enjoy the process, invite friends or family to join in, and celebrate the beauty of winter with this cherished tradition. With these tips, your snowman will not only stand tall but become a delightful centerpiece in your winter wonderland. So grab your mittens, roll up your sleeves, and let the snowman magic begin!

